PC Upgrade Guide: Fix the Bottleneck Before Buying Hardware
techpcalex@gmail.com September 1, 2026 0
Upgrade your PC effectively with our comprehensive guide.
8 min read • 1,641 words
Table of Contents
TogglePC Upgrade Guide: Fix the Bottleneck Before Buying Hardware
In the ever-evolving world of technology, upgrading your PC can be a daunting task, especially when it comes to maximizing performance. This PC Upgrade Guide aims to equip you with the knowledge needed to identify and fix bottlenecks in your system before investing in new hardware. Understanding the relationship between your CPU, GPU, and other components is crucial for achieving optimal performance, particularly in gaming and resource-intensive applications.
Throughout this guide, you will learn how to monitor CPU and GPU usage to pinpoint performance issues, the benefits of adding more RAM for multitasking, and the advantages of upgrading to a fast SSD for improved load times. Additionally, we will discuss the importance of ensuring your power supply unit (PSU) can handle new upgrades, preventing potential stability issues. With this information, you can make informed decisions that will enhance your PC’s performance effectively.
Step-by-Step Tutorial
Step 1: Identify Your Current Hardware
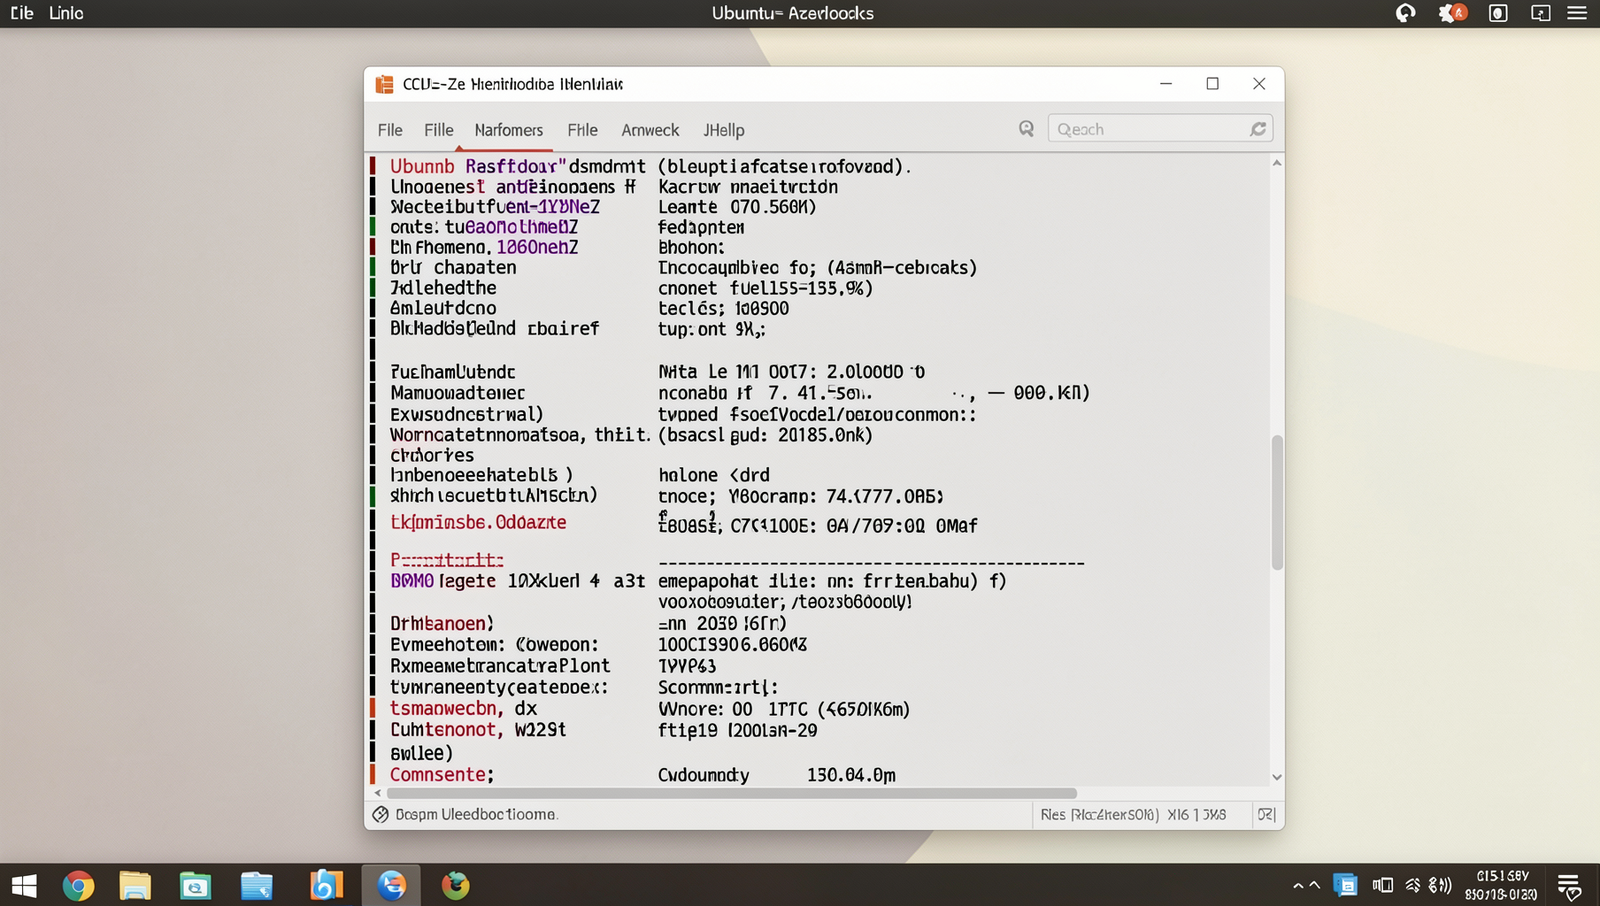
1. **Download Hardware Monitoring Tools**: Begin by downloading reliable hardware monitoring software. Two popular options are CPU-Z and Speccy. These tools will provide you with detailed information about your system’s specifications. Ensure that you download these applications from their official websites to avoid any potential malware.
2. **Install the Software**: Once downloaded, proceed to install the software by following the on-screen instructions. Make sure to close any unnecessary applications during the installation process to ensure a smooth setup.
3. **Run the Software**: After installation, launch the application. For CPU-Z, you will see tabs for different components like CPU, Mainboard, Memory, and Graphics. In Speccy, you will find a summary of your system’s specifications on the main screen.
4. **Gather Information**: Take note of the critical specifications such as your CPU model, GPU model, total RAM, and storage type (HDD or SSD). This information is essential for understanding your current hardware capabilities and identifying potential bottlenecks.
5. **Check Performance Metrics**: Look for performance metrics such as clock speeds, temperatures, and memory usage. These details will help you assess whether your current hardware is performing optimally or if upgrades are necessary.
6. **Document Your Findings**: Write down all the specifications and metrics you have gathered. Keeping a record will be beneficial for future reference, especially when comparing with new hardware options.
By following these steps, you will gain a clear understanding of your current hardware setup and its performance metrics. Remember to keep your system drivers updated for accurate readings.
Step 2: Analyze Performance Metrics
1. **Select Benchmarking Software**: Choose reliable benchmarking tools such as 3DMark for graphics performance or Cinebench for CPU evaluation. These programs are widely used and provide comprehensive insights into your system’s capabilities.
2. **Install the Software**: Download and install your chosen benchmarking software from the official website. Ensure that you are using the latest version to get the most accurate results.
3. **Prepare Your System**: Before running benchmarks, close all unnecessary applications to free up system resources. This will help in obtaining a more accurate performance measurement.
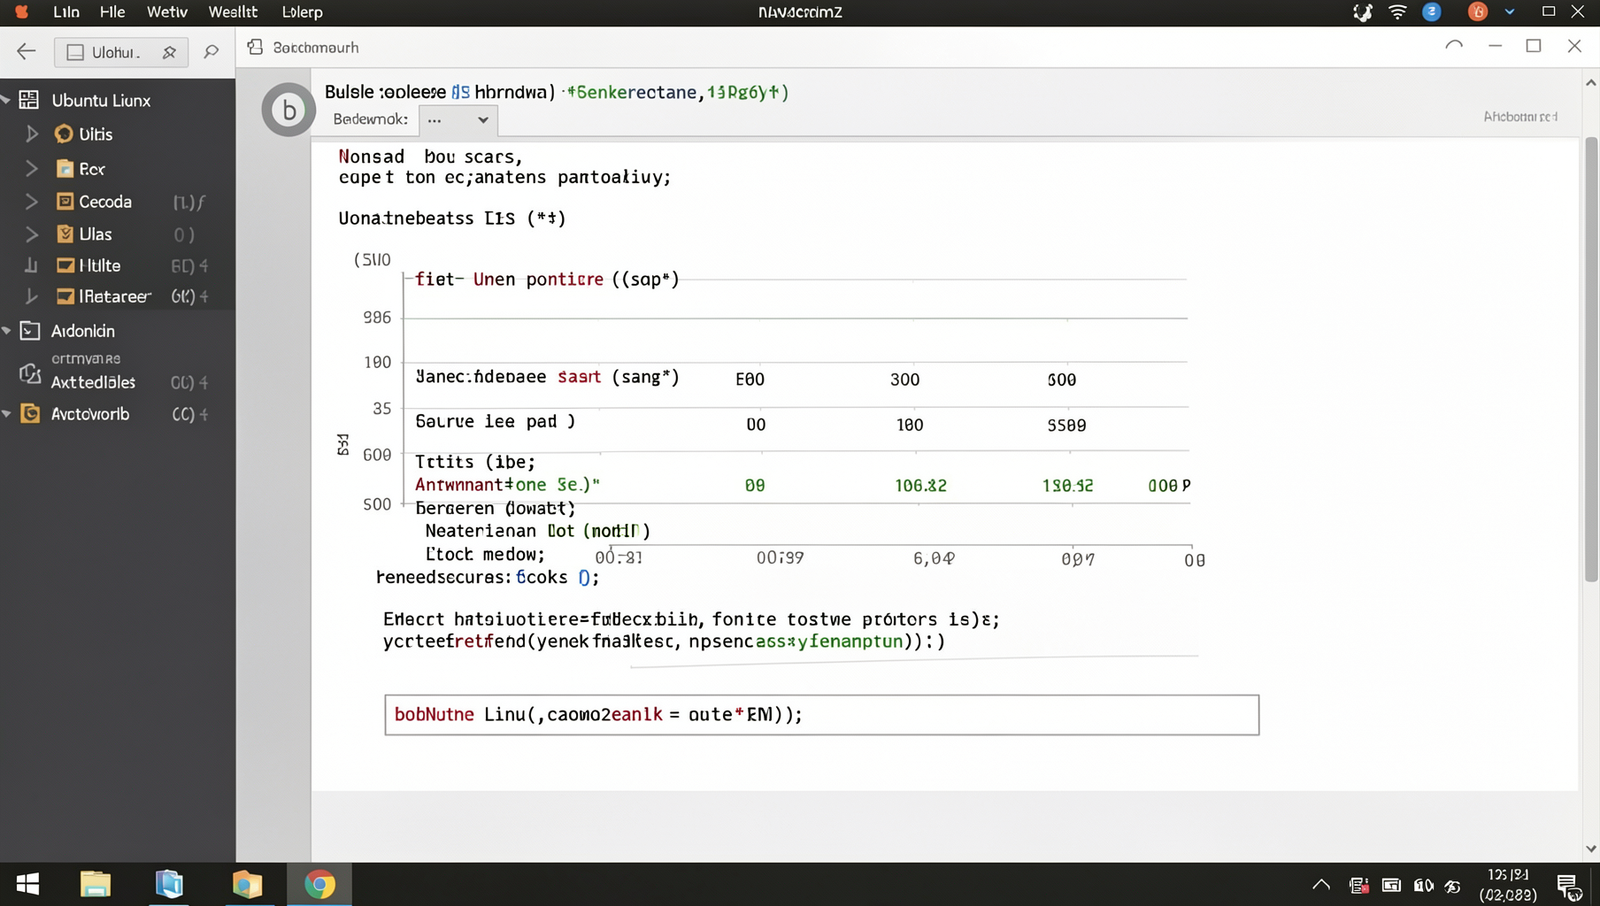
4. **Run the Benchmark**: Launch the benchmarking software and follow the on-screen instructions to run the tests. For 3DMark, select the appropriate test based on your hardware (e.g., Time Spy for DirectX 12). For Cinebench, choose the CPU test to evaluate processing power.
5. **Record Your Scores**: After the benchmarks are completed, note down your scores. It’s advisable to run the tests multiple times to ensure consistency in your results. Take the average of the scores for a more reliable assessment.
6. **Compare with Online Databases**: Visit online benchmarking databases to compare your scores with similar hardware setups. This will help you identify where your system stands in relation to others.
7. **Identify Bottlenecks**: Analyze the differences in scores to pinpoint any performance bottlenecks. If your GPU score is significantly lower than expected, it may indicate that an upgrade is necessary.
8. **Monitor Temperatures**: Throughout the benchmarking process, keep an eye on your system’s temperatures. Use software like HWMonitor to ensure that components do not overheat, which can lead to throttling or damage.
By following these steps, you can effectively analyze your system’s performance metrics and make informed decisions about potential upgrades.
Step 3: Check Compatibility for Upgrades
1. **Identify Your Current Hardware**: Start by documenting your existing components. Use a system information tool or check your BIOS to find details about your CPU, GPU, RAM, and motherboard. This information is crucial for determining what upgrades are feasible.
2. **Research Potential Upgrades**: Once you know your current hardware, research potential upgrades for the bottlenecked components. Websites like PCPartPicker can help you find compatible parts based on your motherboard and other specifications. Look for components that offer significant performance improvements without exceeding your budget.
3. **Check Motherboard Compatibility**: Ensure that any new CPU or RAM is compatible with your motherboard. Check the motherboard’s specifications for supported CPU sockets and RAM types. If you’re considering a new GPU, verify that your motherboard has the appropriate PCIe slots.
4. **Verify Power Supply Requirements**: Each component has different power requirements. Check the wattage and amperage needed for new hardware. Use
power supply calculatortools online to ensure your existing power supply can handle the upgrades. If not, you may need to purchase a new power supply.
5. **Future-Proofing Considerations**: When selecting upgrades, consider future-proofing. Look for components that will not only meet current demands but also support upcoming software and gaming requirements. Reading hardware reviews can provide insights into performance longevity.
6. **Final Compatibility Check**: Before making any purchases, double-check all compatibility aspects. Make sure that the dimensions of the new hardware fit within your case and that your cooling solutions are adequate for any new components.
Step 4: Plan Your Budget
1. **Assess Your Current Financial Situation**: Begin by evaluating how much you can realistically allocate for your PC upgrades. Review your monthly expenses and savings to determine a comfortable budget range. This will help you avoid financial strain while upgrading your system.
2. **Research Component Costs**: Once you have a budget in mind, research the prices of the components you plan to upgrade. Websites like PCPartPicker can help you compare prices across different retailers. Make a list of the components you need, such as the CPU, GPU, RAM, and storage, along with their estimated costs.
3. **Factor in Additional Costs**: Don’t forget to include potential installation fees if you’re not comfortable doing the upgrades yourself. Additionally, consider the cost of any necessary accessories, such as thermal paste, cables, or cooling solutions. These can add up, so it’s essential to account for them in your budget.
4. **Look for Deals and Discounts**: To maximize your budget, keep an eye out for sales, bundle deals, or discounts on components. Websites often have seasonal sales, and you may find used components in good condition on platforms like eBay or local marketplaces. This can significantly reduce your overall costs.
5. **Stick to Your Budget**: It’s easy to get carried away with the excitement of upgrading your PC. However, avoid overspending on unnecessary components that do not align with your performance goals. Stay disciplined and stick to your budget to ensure a successful upgrade without financial regret.
Step 5: Backup Your Data
Before you dive into upgrading your PC hardware, it is crucial to back up your important data. This step ensures that you avoid any potential data loss during the upgrade process. Follow these sub-steps to effectively back up your data:
- Identify Important Data: Start by determining which files and folders are essential. This may include documents, photos, videos, and application data. Make a list to ensure nothing is overlooked.
- Choose a Backup Method: You can back up your data using external drives or cloud storage solutions. External drives are great for quick access, while cloud storage offers the advantage of remote access and additional security.
- Perform the Backup: If using an external drive, connect it to your PC and copy the identified files. For cloud storage, upload the files to your chosen service. Ensure that the upload process completes successfully.
- Use Disk Imaging Software: For a complete system backup, consider using disk imaging software. This creates a snapshot of your entire system, allowing for easy restoration if needed. Popular options include
ClonezillaandAcronis True Image. - Verify Your Backups: After completing the backup, double-check that all files are accessible. Open a few files to confirm they are intact and not corrupted.
To avoid future data loss, schedule regular backups. This proactive approach ensures that your data remains safe, regardless of hardware changes.
Step 6: Install New Hardware and Test
1. **Gather Your Tools**: Before you begin, ensure you have a toolkit ready. This should include a screwdriver, anti-static wrist strap, and any other tools recommended by the hardware manufacturer.
2. **Prepare Your Workspace**: Choose a clean, static-free environment to work in. Lay down an anti-static mat if you have one, and make sure to ground yourself by wearing an anti-static wrist strap.
3. **Power Down and Disconnect**: Shut down your PC and unplug it from the power source. Disconnect all peripherals, including the monitor, keyboard, and mouse, to avoid any potential damage during installation.
4. **Open the Case**: Use your screwdriver to remove the side panel of your computer case. This will give you access to the internal components.
5. **Install New Components**: Carefully install your new hardware. For a graphics card, locate the PCIe slot, align the card, and gently press it into place. For RAM, open the clips on the RAM slots, align the notches, and press down firmly until they click into place. Follow the manufacturer’s instructions for any other components.
6.